")


How to use Akeeba to make your page look just as the template as seen in the Template demo on www.crosstec.org
IMPORTANT:
Before we start, it's important to note, that the backup file, we'll be using later on, is from a Joomla!® 3.2 Template.
Also: the backend login changes after installing the backup to this:
ID: Admin
Password: test
And last but not least, you should always create a new Joomla!® installation when you want to install a backup using this method.
What we'll need:
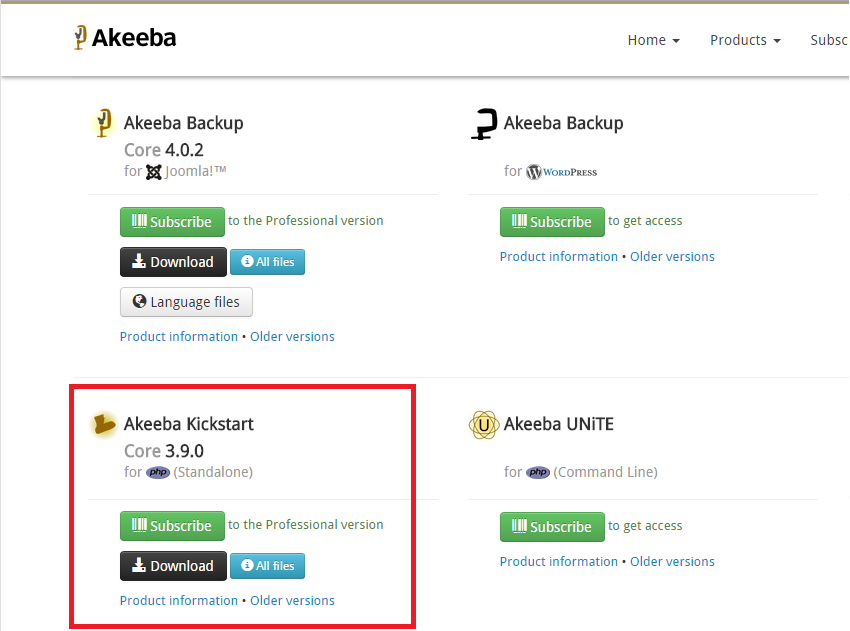
1.) The backup file (in this case it's the naturalway.zip)
2.) "Akeeba Backup"
3.) "Akeeba Kickstart"
both Akeeba Backup and Akeeba Kickstart can be downloaded free of charge from:
https://www.akeebabackup.com/download.html
Now that we have downloaded this two things lets get right to it:
So after creating a new Joomla!® installation and the coressponding Database, the next thing we need to do is extract the "kickstart.php"-file from the Akeeba Kickstart container. (Don't mind the other files, they are not necessary).
Now move the kickstart.php file into your site's root directory.
In my case it's the: C://xampp/htdocs/naturalway2/ directory.

After moving the kickstart.php file into this directory, you'll have to move the backup file, in our case the "naturalway.zip" into the same root directory.
Now back to the browser, go to:
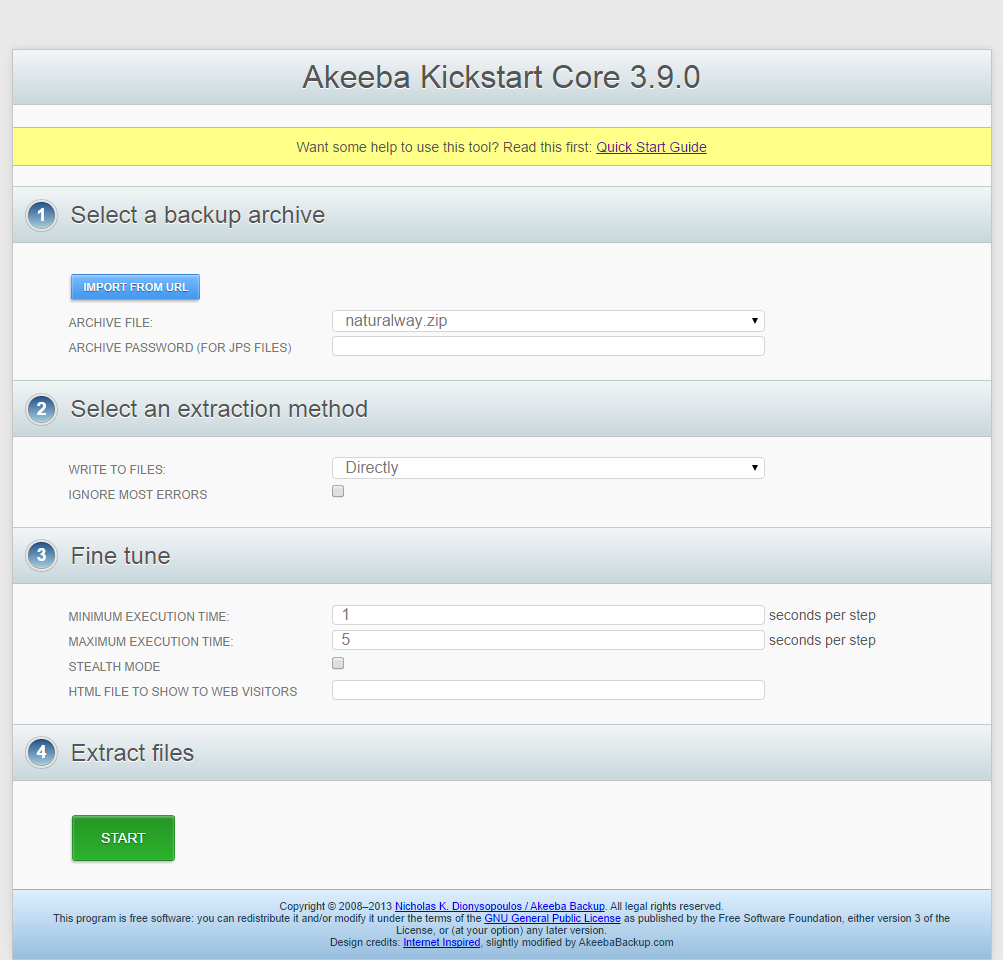
localhost/nameOfYourSite/kickstart.php
you should be redirected to a new page where, unless you have more than one backup file in the root directory, the correct file should be selected by default.
Change the "Write To Files" dropdown menu from "Hybrid" to "Directly" and then klick the green START-button on the bottom of the page.
Now Kickstart will be extracting the backup file,
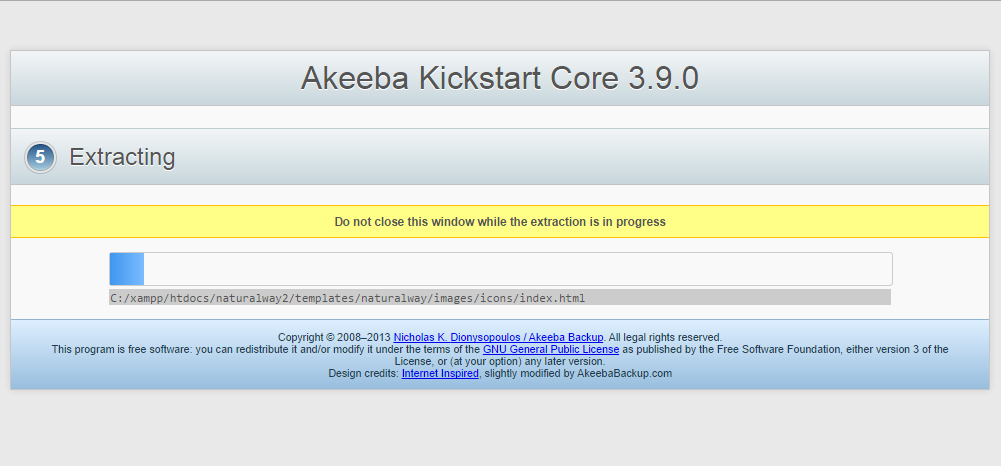
after this is done you'll have to klick the green "RUN THE INSTALLER" -button. In the next page, you can just klick the next-button, situated in the upper right-hand corner of the screen.
In the new page (Recovery of Main Database) change the Database name and the Database table name prefix to the one you created to use with this site. Afterwards proceed by klicking next.

The Database recovery should now start and after it finishes klick the red button to delete the installation directory and in the now opening page klick the green button to go to your page's frontend.
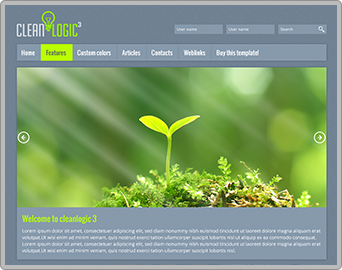
If everything went as planed your page should now look like the one you saw in the template demo you saw at: www.crosstec.org
This is it. I hope you enjoyed this litte "how-to" and that you'll have a lot of fun with this new page.
If there is anything we can do to help, write us a message in our forum or mail us at: support@crosstec.org